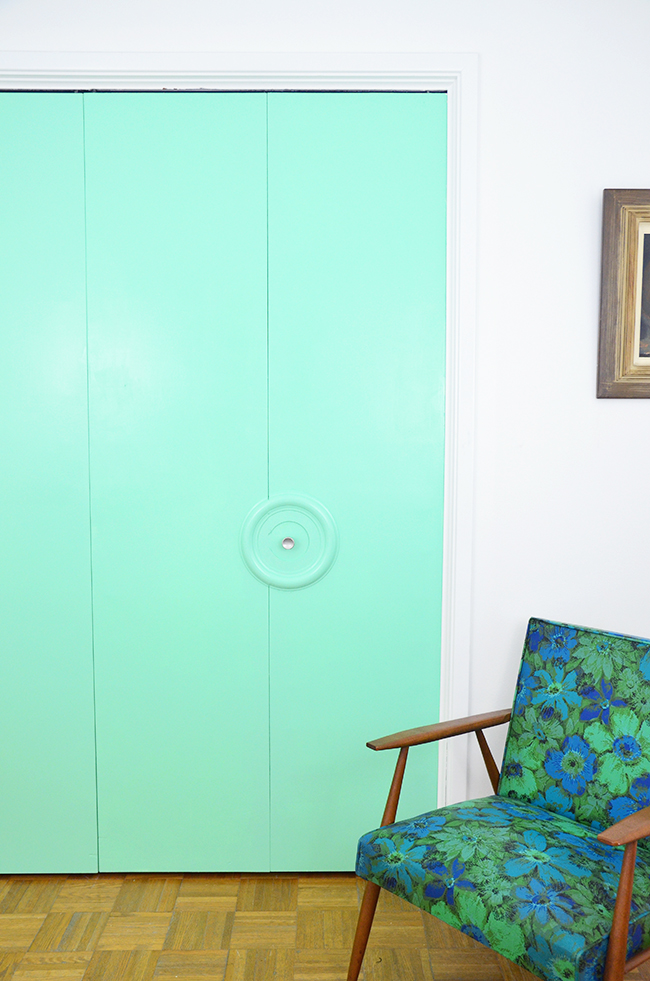
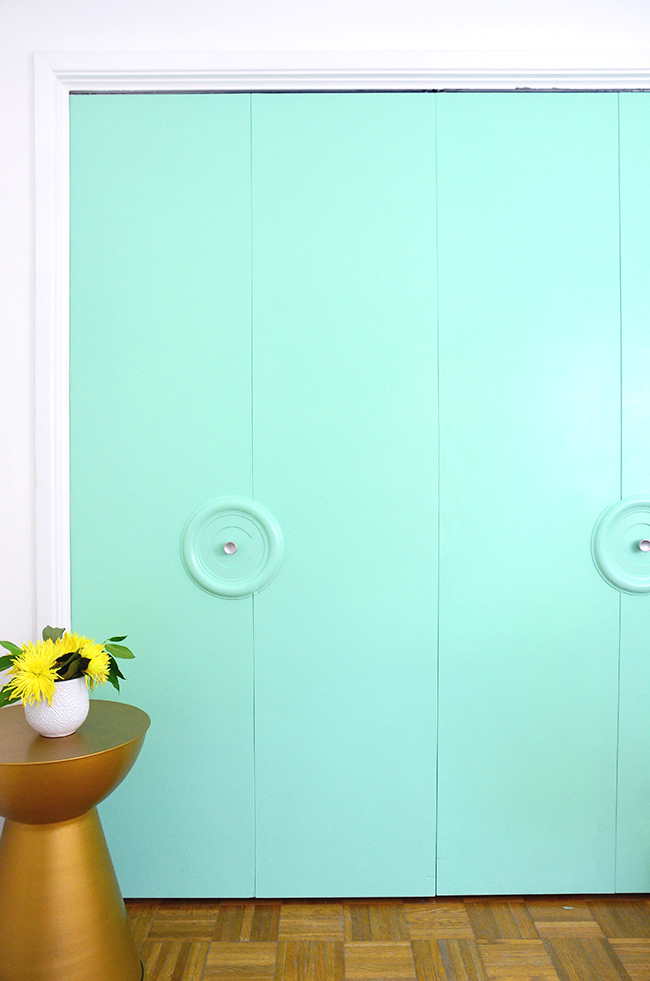
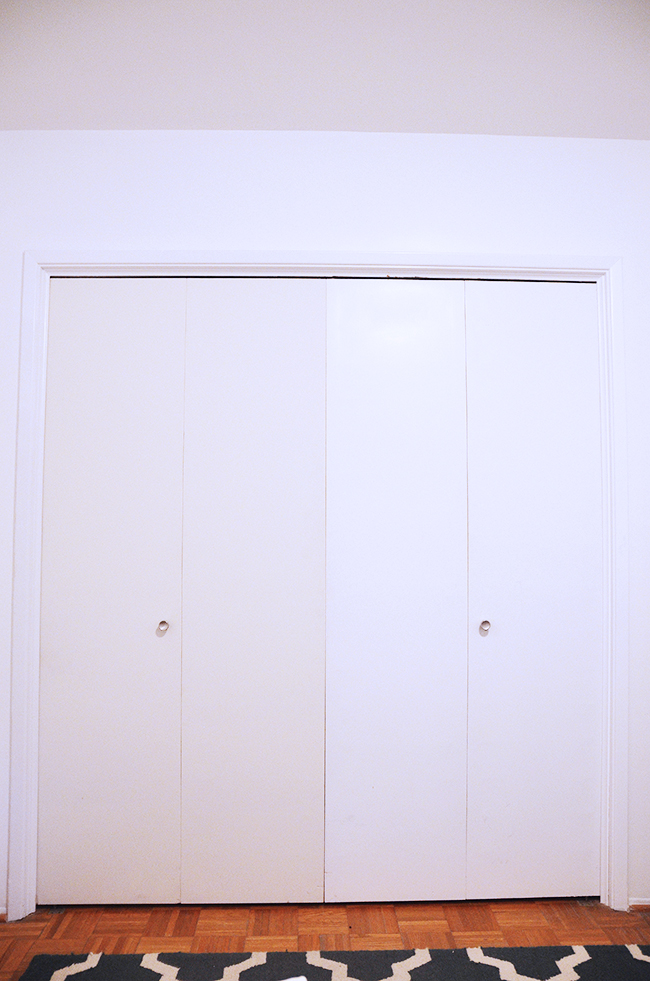
When Alan and I bought our house, everyone warned us that we would always have at least 5 home projects going on at a time. They weren’t kidding and for us it’s been more like 10 home projects at a time. Some are major, like the kitchen renovation, while others are fixing paint mistakes. Case in point, the closet doors in our guest bedroom. Alan painted all of the closet doors when we moved in and only finished half of the doors in the guest room. I figured I would help him out and finish the project. I accidentally used the wrong white paint and we were left with mismatched doors. Something like this would bother me, but since it was our guest bedroom and I rarely look at the doors, I simply filed it in the “get to it one day” category.
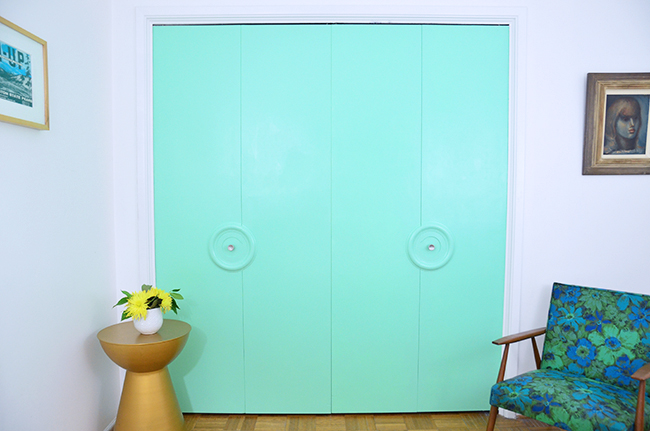
While Alan handles the big stuff, I try to take on large-scale yet simple home projects that I can take on by myself. I finally decided to tackle the guest bedroom closet doors. I saw beautiful closet doors on the black hole Pinterest and had to replicate them.
What you need:
1 pint paint (I selected Quiet Turquoise)
Brush
Decorative moulding (I found a simple decorative moulding that fits the MCM aesthetic of our home but elevates the paint project just enough.)
Marker
Hand Saw
Wood Glue
Steps:
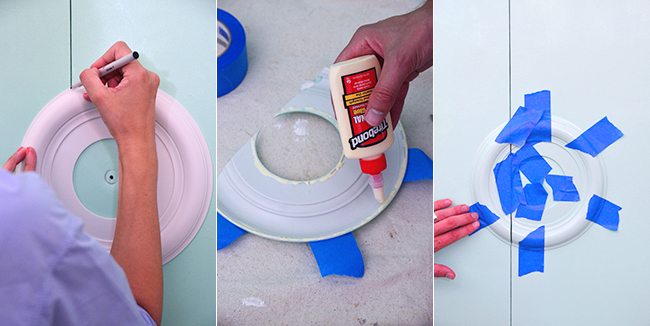
Check the spacing and location of the moulding. Our closet doors are accordion style so the moulding can’t be centered on the panel and is instead centered around the knob. Mark where the moulding will need to be cut.
Paint the walls using a roller. I applied 2 coats and allowed each one to dry completely.
While you allow the first coat to dry, cut the moulding using a hand saw.
Paint the moulding and allow to dry completely.
Apply wood glue to the back side of the moulding and attach to the door. To ensure the moulding doesn’t move while the glue dries, use painter’s tape to tape the moulding in place. (This will give your hands a break too).
After the moulding is dry, apply another coat of paint to moulding.
Touch up any spots with a small sponge brush.
This post is sponsored by Ace.
