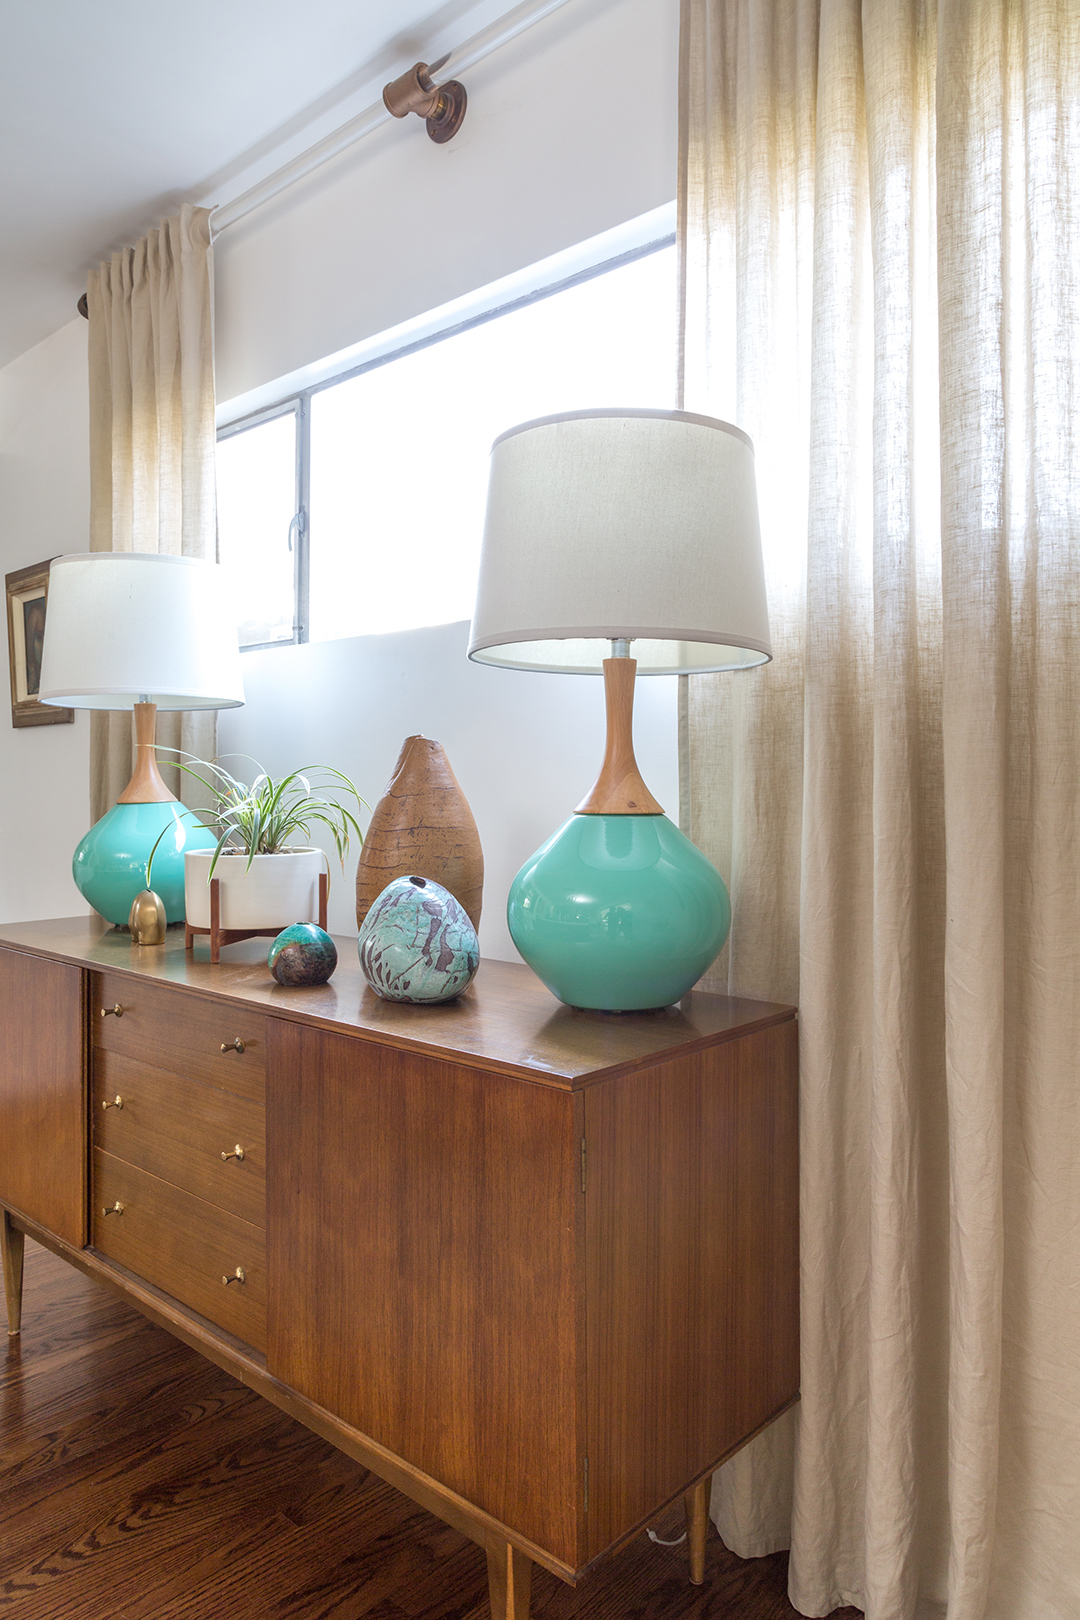
DIY Brass & Lucite Curtain Rod

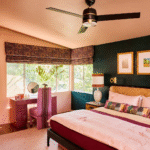
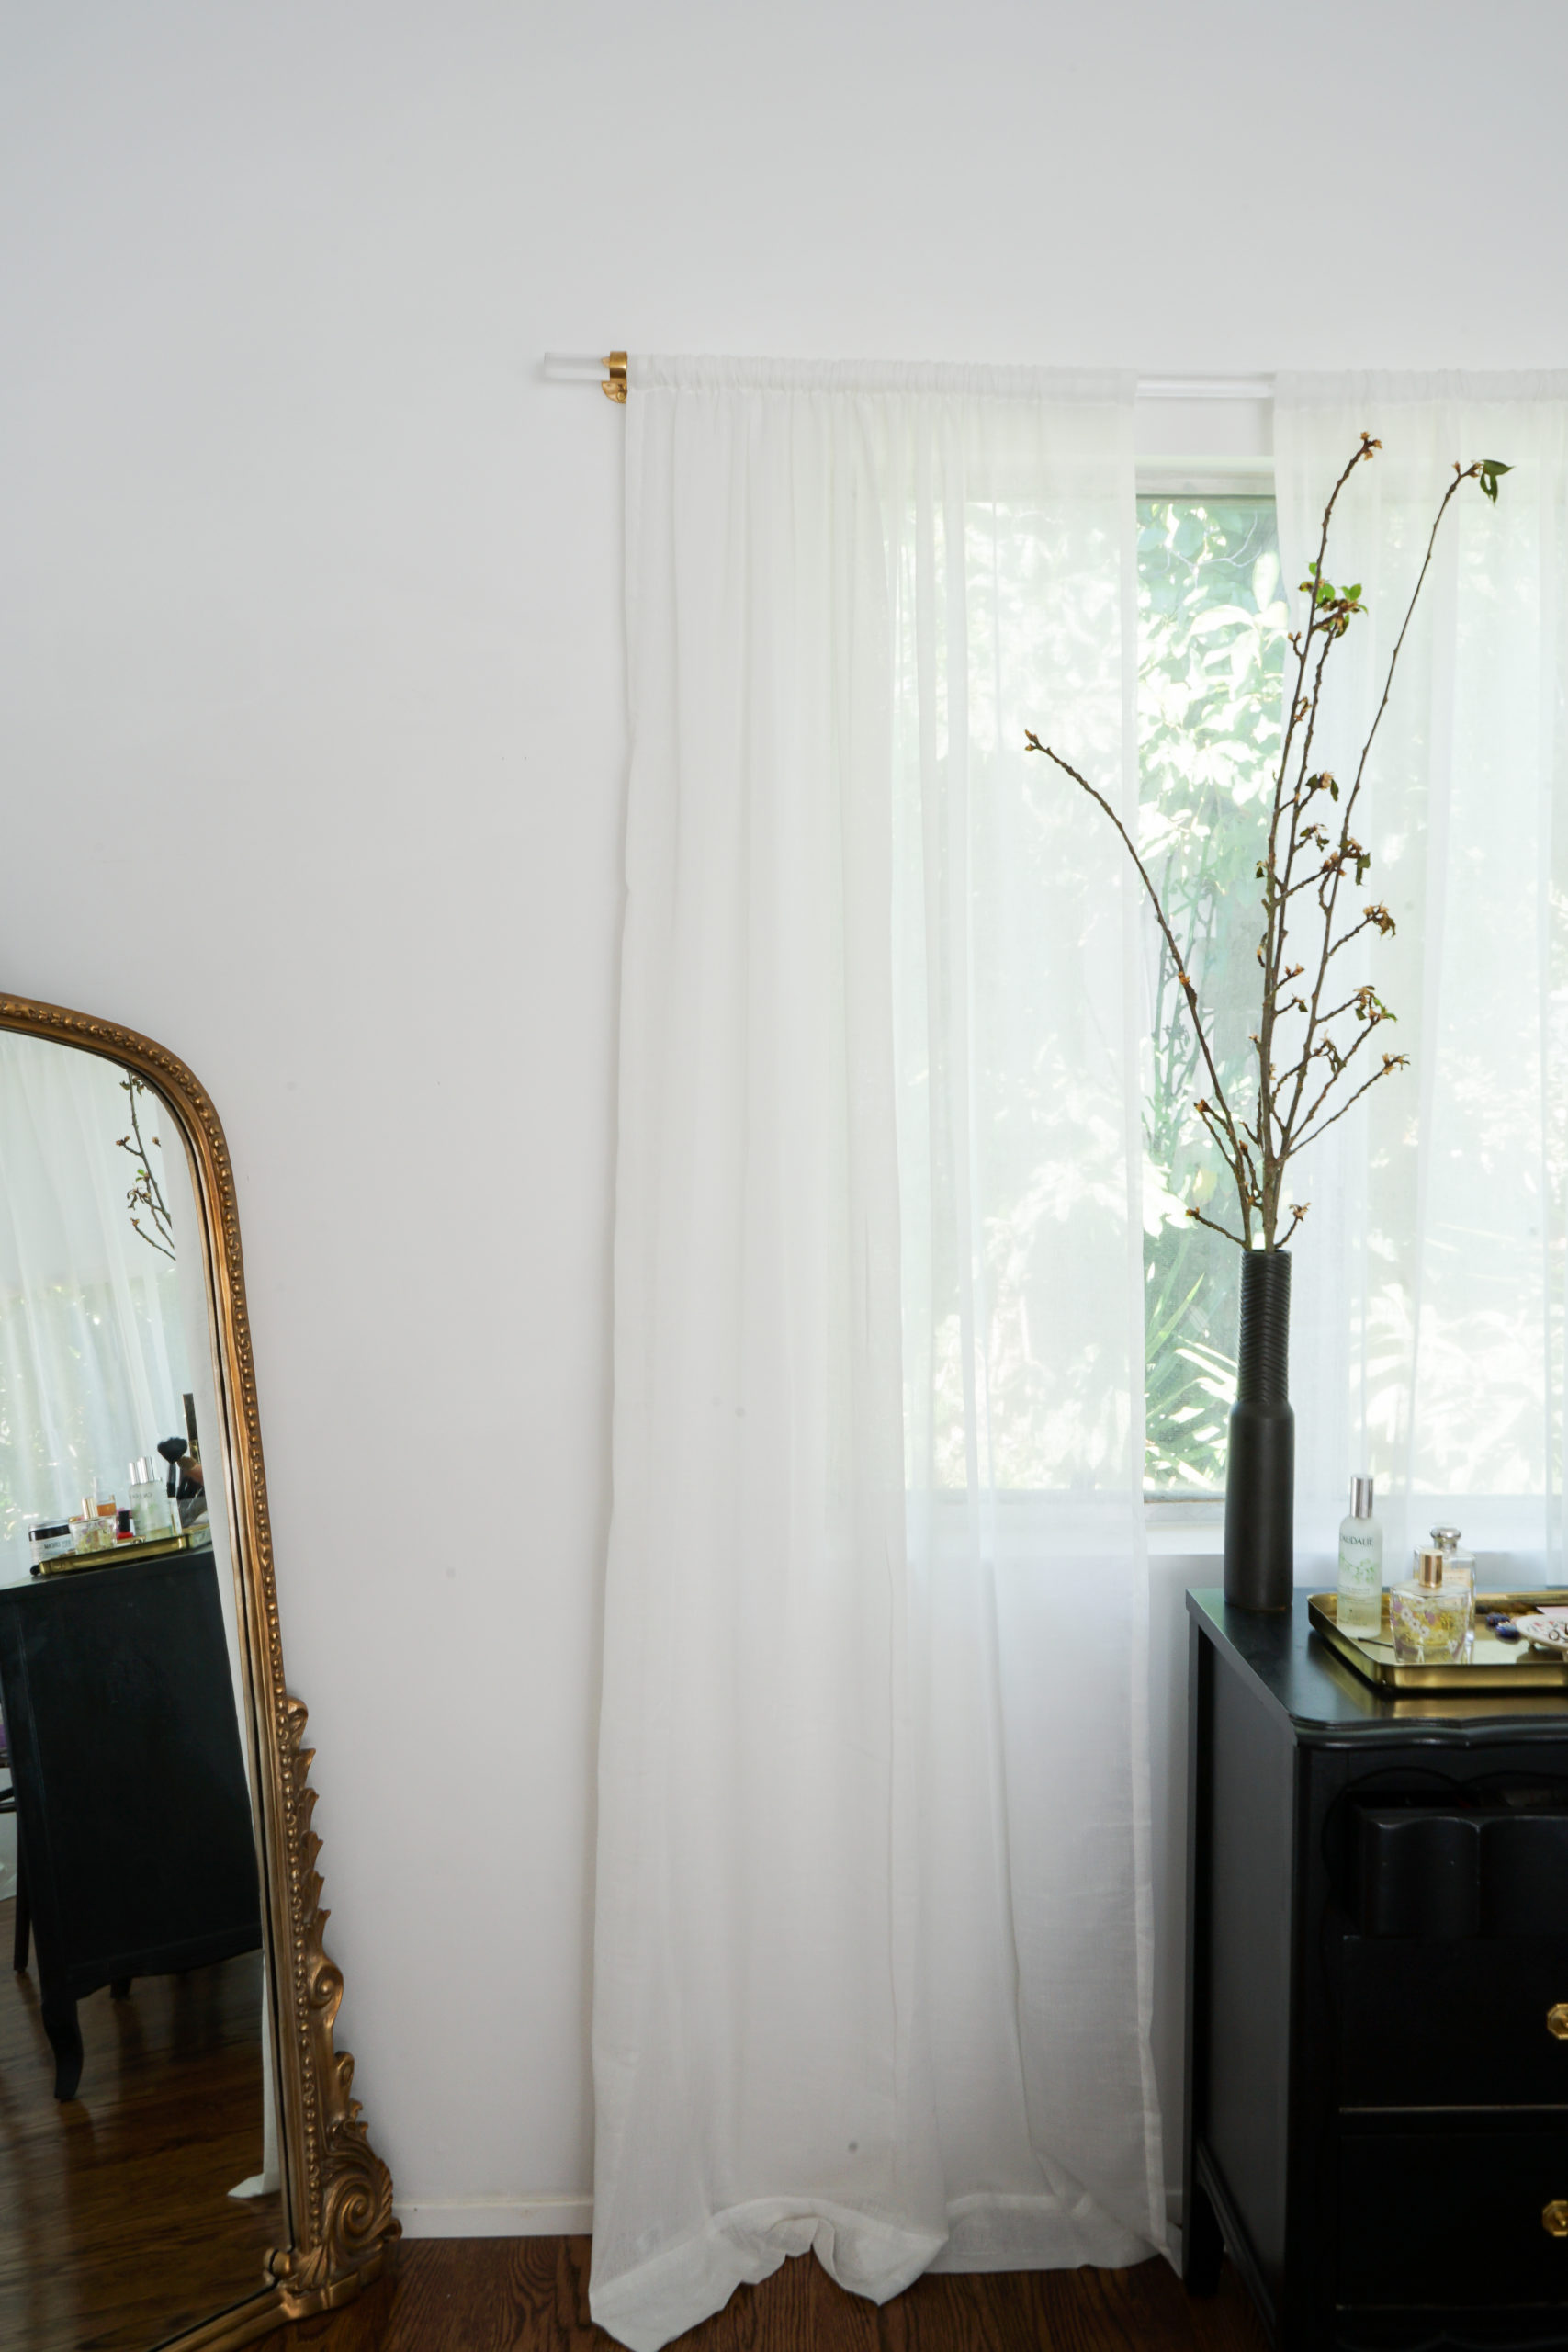
My love for lucite can be traced back even to my younger days when I convinced my mom I needed an acrylic handbag, desk accessories, and beyond. As an adult, I love the sophisticated meets eclectic look it can bring to the home and even my wardrobe. All of the rooms in our home have our signature DIY brass and lucite curtain rods although each is fitted a bit different. I like the super minimalist and clean vibe they offer and it just helps bring together the different aesthetics throughout the house.
If you haven’t shopped for an acrylic curtain rod, then let me save you the heart attack of discovering the price tag! Most of our windows are 8 or 9 feet so to buy something off the shelf is $1,500+ and I said hell-to-the-no! When I have something in mind and I want it, there is no stopping me. I just figured if I wanted an acrylic curtain rod at a cheap price it would have to be a DIY. And so, I decided to make our own. And just to be clear, I thought of it and asked Alan to implement…how’s that for a honey to do?
DIY Lucite Curtain Rod
With a quick Google search, I found dozens of manufacturers of acrylic rods, but the most affordable is Nationwide Plastics based in Dallas, TX. They carry several types of acrylic rods, a variety of sizes, and can cut the rod to the length you want before they ship off to you. Although they specialize in mass volume sales, they are happy to help a blogger/interior stylist find her perfect acrylic for a DIY curtain rod project. I selected cellcast acrylic rod, which is the clearest acrylic and better quality, at 1.5 inch diameter. I think anything smaller might be a bit flimsy but I think you can go down to 1.25 or even 1 and be fine. The cellcast rod comes in an 8-ft length, which meant I needed two rods. I asked Nationwide to cut each rod to 6-ft so that the rod extends beyond the window 1 foot on each side. You can also opt to buy on Amazon which will be free shipping if you’re a Prime member.
Parts: acrylic rods, brass brackets
Step One: Dry assemble everything on the floor to make sure all the parts fit, and measure out the spacing between each of the three wall brackets.
Step Two: Measure out the locations for the wall brackets on the wall. Always start with the center location and then move on to the ends.
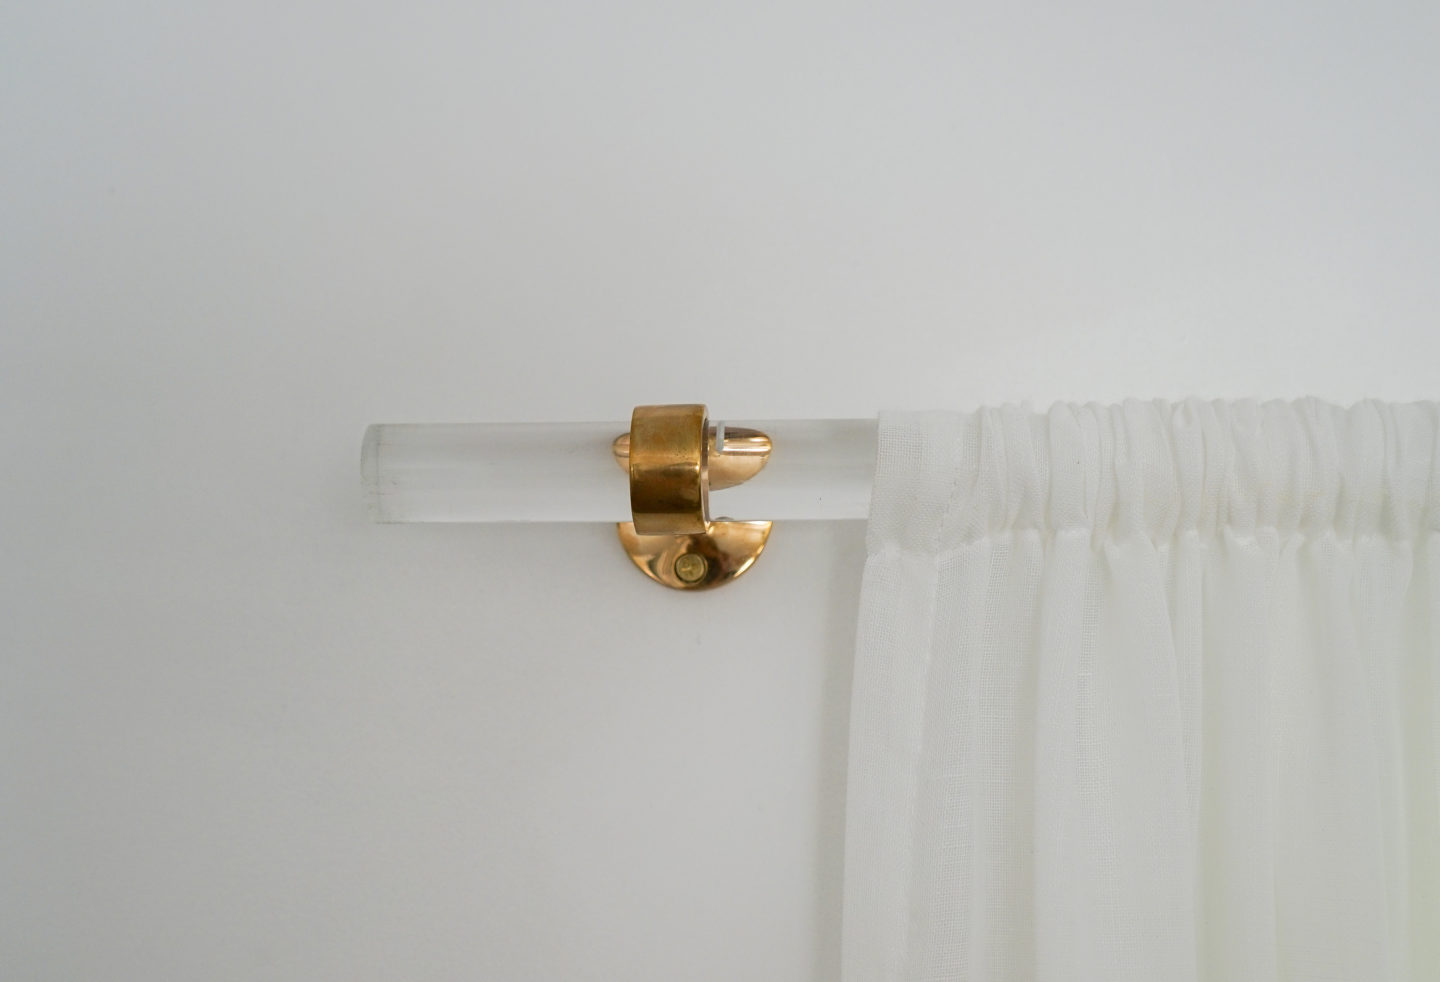
Step Three: Screw in the wall brackets and confirm they are installed straight.
Step Four: Trim the acrylic rods if necessary. We opted to have our rods stick out 12 inches on the ends.
Step Five: If you’re working with a corner like our room,
Step Six: Slide in the acrylic rods starting with the end brackets.
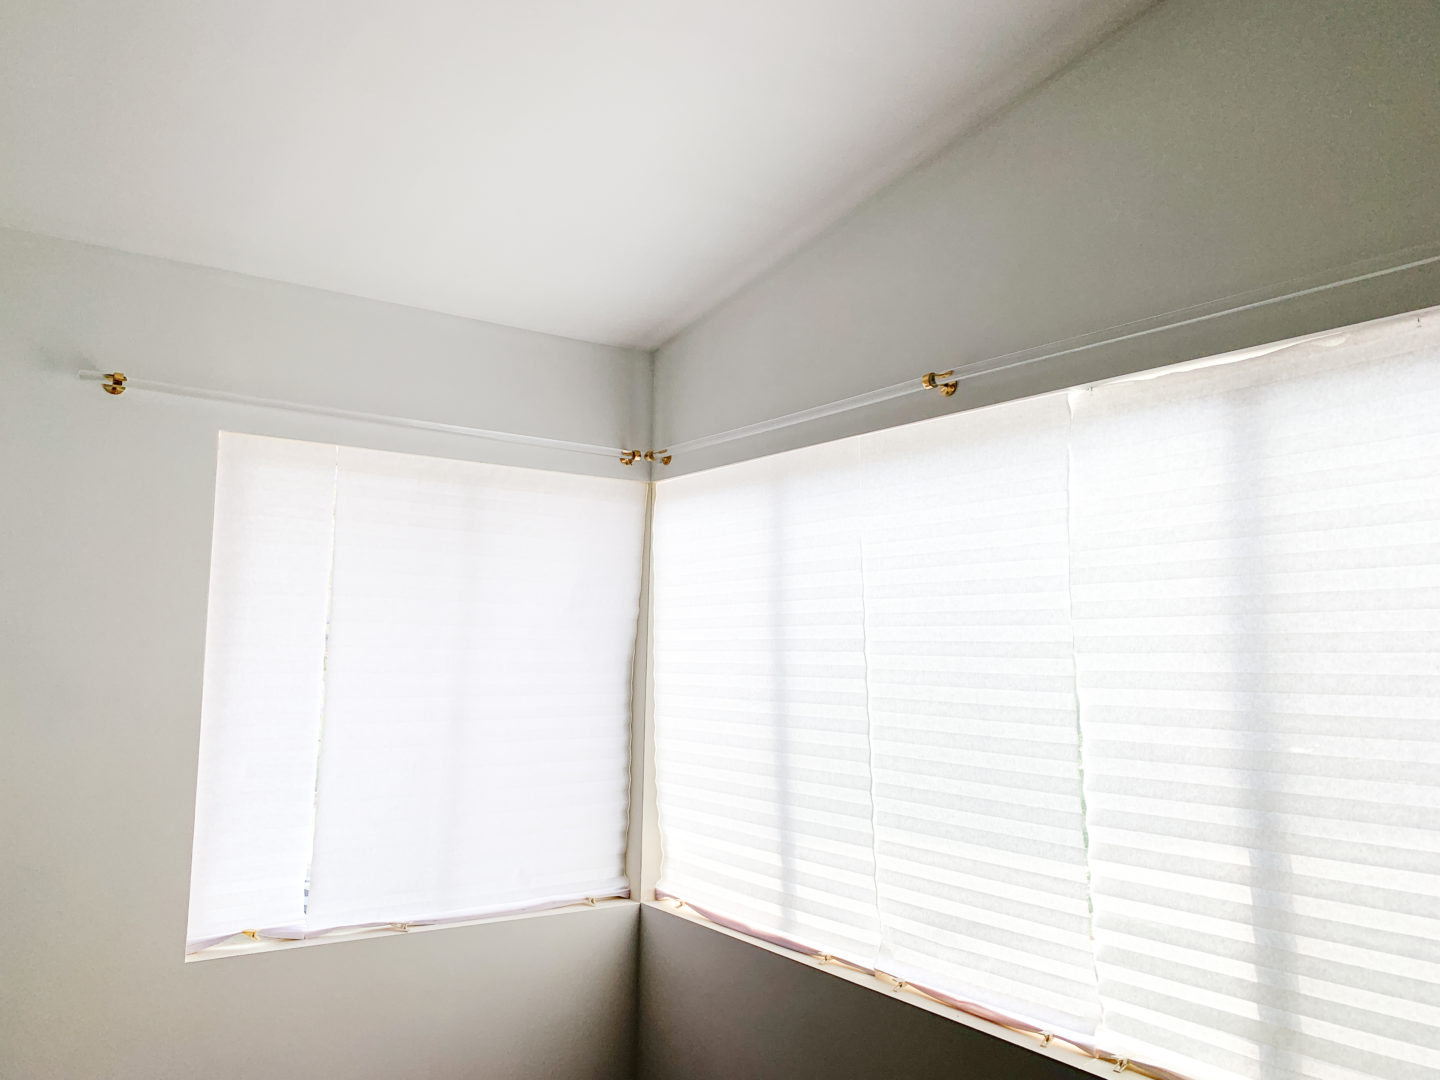
obviously excuse the ugly Home Depot $4 paper blinds lol
Dining Room Acrylic Curtain Rod
If you’re a long time follower of the blog, then you know we installed the original brass and lucite curtain rod in the dining room using brass flanges and elbows. I wanted a modern meets industrial feel for the space instead of opting for classic polished brass fittings.
I must admit, these pictures don’t do this project justice. Every single person who comes into our home stops when they see the curtain rod and asks where we bought it and how much it cost. I mean, who stops to ask about a curtain rod? The project takes about 2 hours to put together and is worth every minute of it.
Parts: Lucite tubes, 3 wall brackets, 3 “nipples”, 2 elbows, 1 T-bracket, plus screws and wall anchors
Step One: Dry assemble everything on the floor to make sure all the parts fit, and measure out the spacing between each of the three wall brackets. (Tip: make sure the spacing between the brackets leaves some slack so the Lucite tubes can be slid in after all the plumbing hardware is mounted on the wall.).
Step Two: Measure out the locations for the wall brackets on the wall. Always start with the center location and then move on to the ends.
Step Three: Install the wall anchors and screw in the wall brackets with the nipples pre-installed.
Step Four: Screw in the two elbows and the T-bracket (Tip: Make sure each of the three pieces sticks out from the wall the same distance – even if there might be still be some ability to screw the elbows or brackets in more).
Step Five: Slide in the Lucite tubes – you should be able to butt them all the way into the elbows, but still have slack in the center bracket.
Step Six: Remove the Lucite tubes to add the curtains.