About.
Meet Annette &
A Vintage Splendor
your favorite destination for vintage and thrifting.
Splendor
Collective
About. A community for vintage and thrifting lovers that provides you with informative and expansive content to teach you how to shop vintage and thrift for your home and wardrobe.
The Subscription. $5 / per month
The Benefits.
access to a private Instagram group where you’ll find shopping trips, secret spots, and where you can see the hunt firsthand!
guides where Annette shares all her best tips and tricks for shopping flea markets, antique shops, estate sales, and more!
first dibs on any sales, whether it’s straight from Annette’s closet or other goodies she’s snagged online!
master list of the best vintage stores, thrift shops, flea markets, antique centers & more!
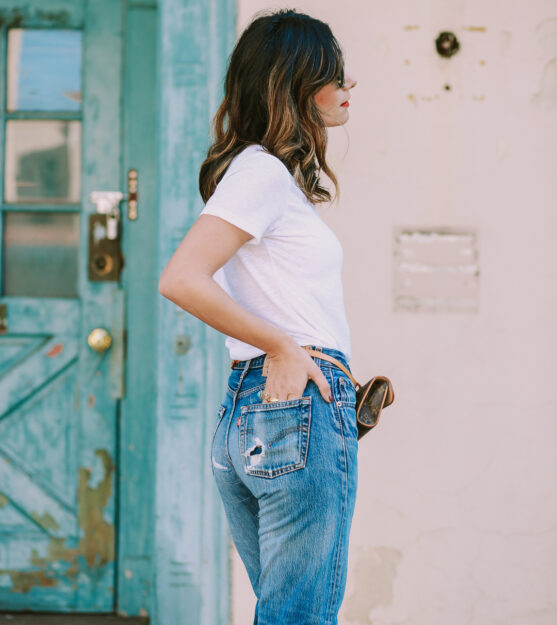
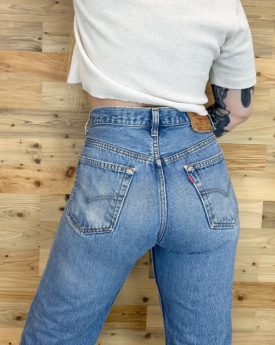
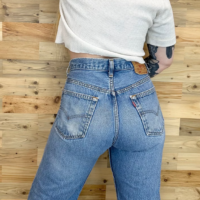
Ultimate Guide to
Vintage Levis
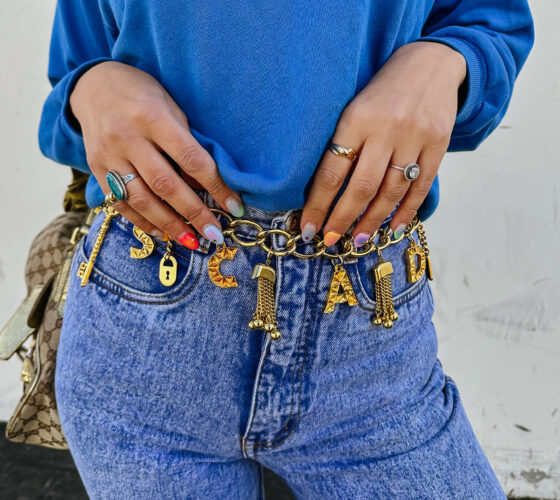
When it comes to the perfect pair of jeans, vintage Levi’s are probably my favorite. If you're on the hunt for the perfect vintage denim, read my tips for vintage Levi's sizing, styles and where to buy!
Here are my expert tips for finding the perfect pair of vintage Levis!
Never miss a thing.
SPLENDOR
COLLECTIVE
EXCLUSIVE
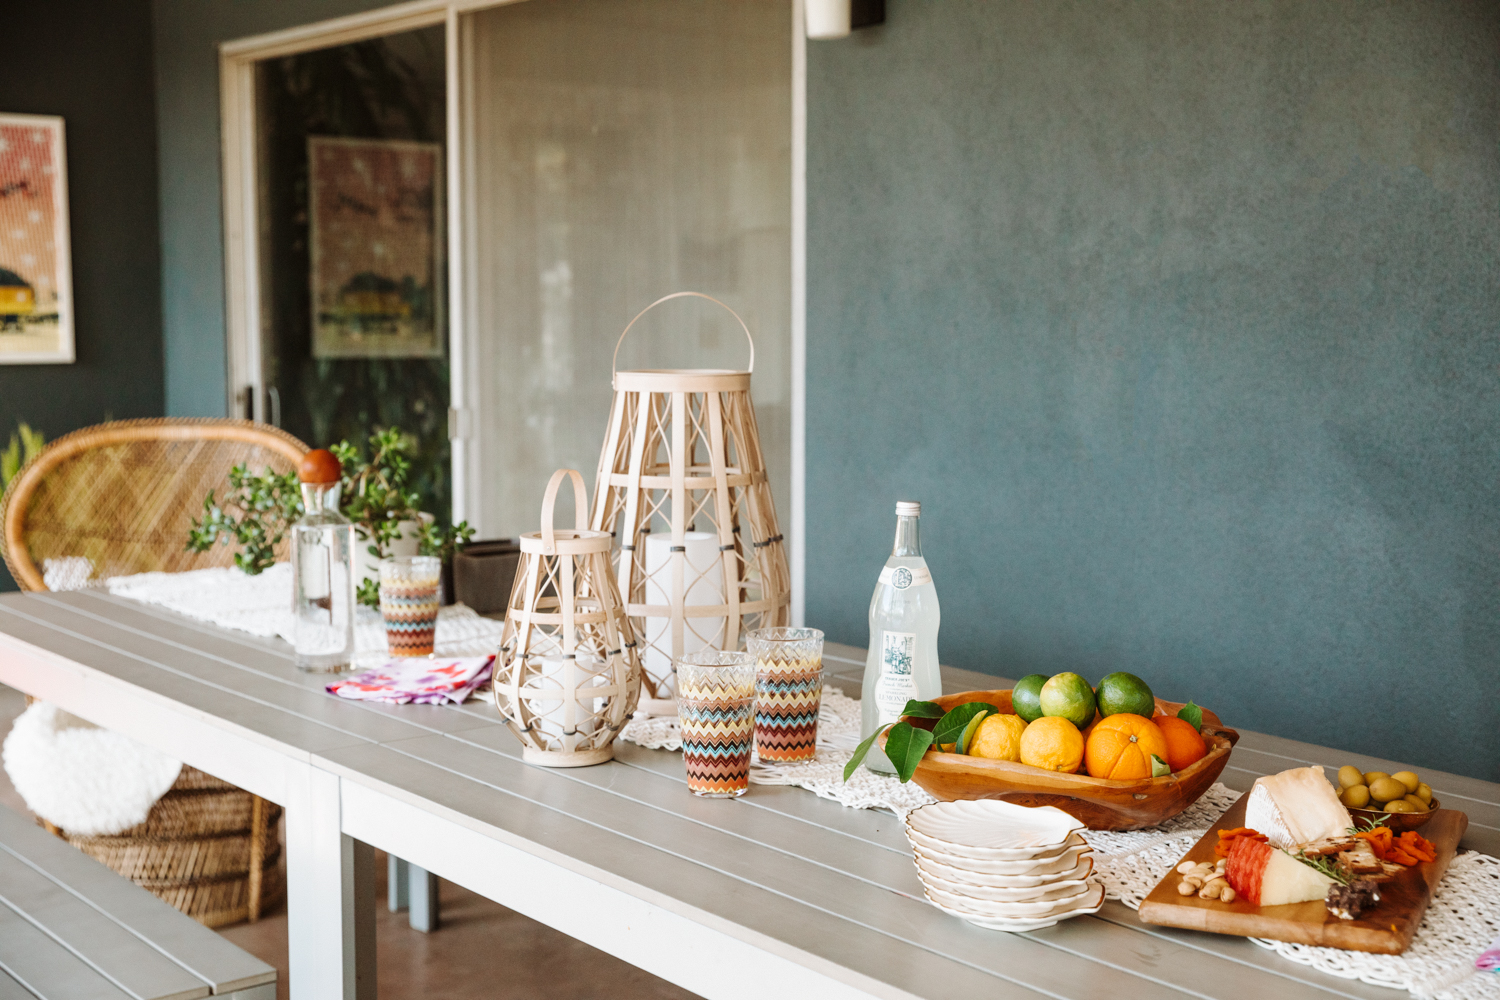
The Spring Outdoor Shopping List
The Shopping List No. 51: Two Piece Sets
The Vintage Renaissance: What it Means for Collectors
Stories.
The Spring Outdoor Shopping List
The Shopping List No. 51: Two Piece Sets
Stories.
The Vintage Renaissance: What it Means for Collectors
Voices from
the Community.
The Guides are so helpful!
The guides are so helpful! Thank you so much for giving so much information! I feel so confident shopping for vintage online now!
Dream skirt!
I took your advice on the eBay alert trick and finally snagged my dream rainbow YSL skirt!
Dream RL Blazer found!
Oh my! I just used your tips on shopping vintage on eBay. I just made an offer to a seller on a RL crest sweater. I was so excited because I felt like I followed your guide and felt good about the whole process. I feel successful because the process was well planned and just fun!
Your tips are gold!
Just read the eBay guide and Designer bag guides. WOW! So much info I never even considered. Thank you! Saving up to buy something special for myself!